Tack basics
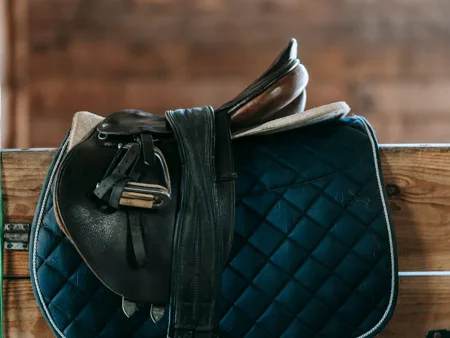
Reading the parts of an English saddle
Knowing the names makes a conversation with a saddle fitter much easier. Start with the visible parts, then look underneath.
Home / The whole notebook
Follow a question, look up a piece of equipment, or browse a subject.
Knowing the names makes a conversation with a saddle fitter much easier. Start with the visible parts, then look underneath.

Follow the straps from the poll to the reins to understand how a conventional bridle is assembled.
The useful comparison is how each material behaves in your routine, including the parts hidden beneath the surface.
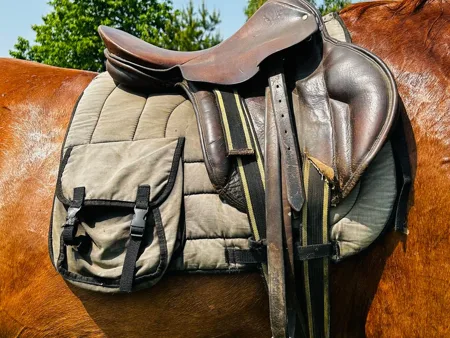
A saddle's seat and flap reflect an intended riding position, but the label alone cannot settle the choice.
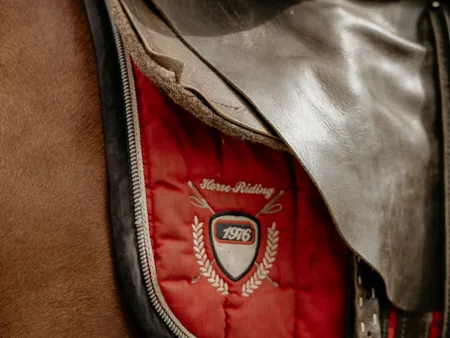
The outline changes, but either style still needs to sit neatly with the saddle and the horse.
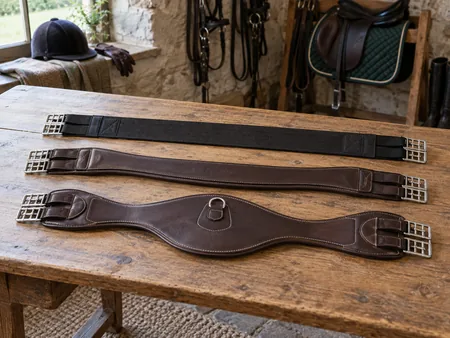
Curves and cutaways describe a design; their position on an individual horse determines whether they are useful.
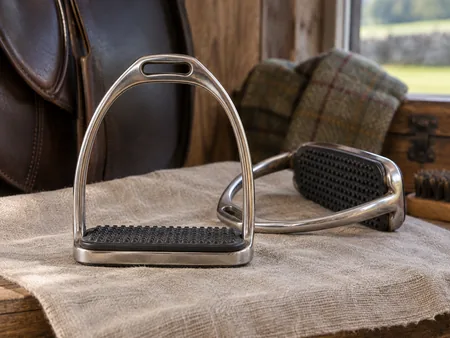
Look at the tread, sides and leather attachment before comparing unfamiliar stirrup designs.
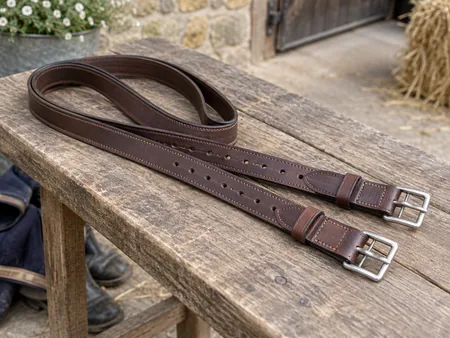
The name includes several constructions, from traditional folded leather to reinforced and single-strap designs.
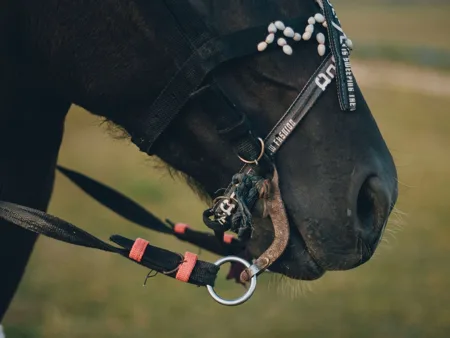
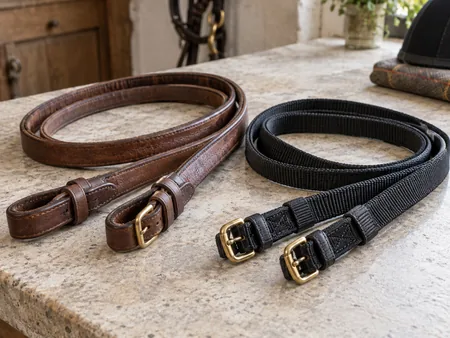
Grip, thickness and maintenance differ across reins that may otherwise look much the same.
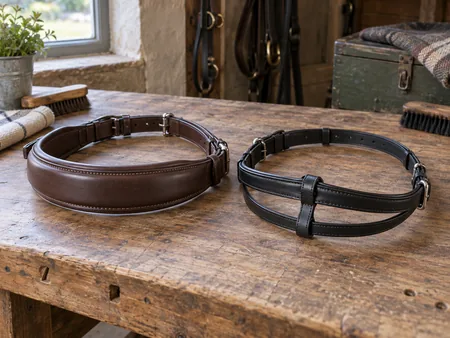
Recognising the shape helps you describe a noseband, without treating the shape as a solution to a riding problem.
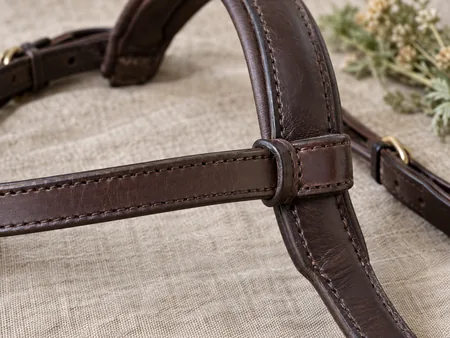
A small change at the forehead can alter where the top of the bridle sits behind the ears.
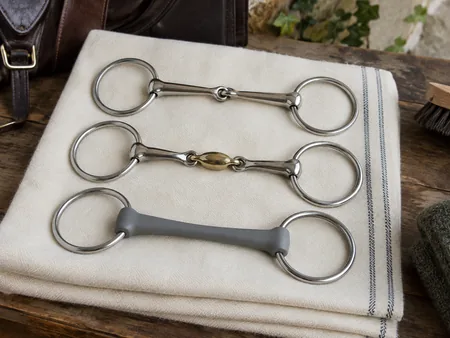
Learn the descriptive terms before trying to interpret what a particular bit might do.
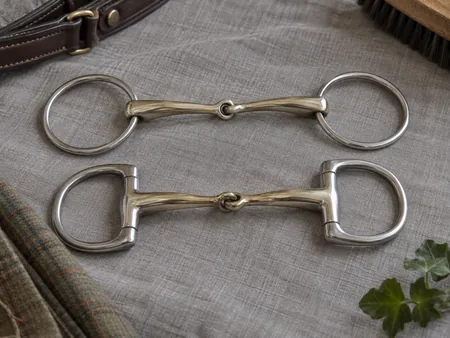
The sides of a bit are separate from its mouthpiece, and both belong in any fitting discussion.
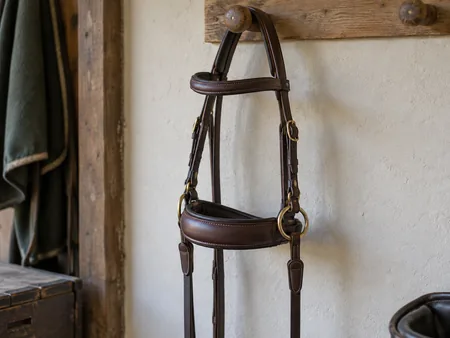
Removing the mouthpiece changes where the equipment acts, but does not remove the need for careful fitting and instruction.
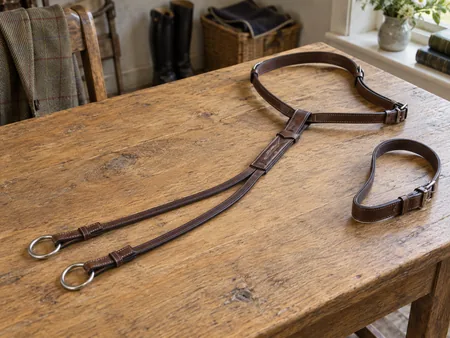
Running and standing martingales connect differently, so identify the arrangement before discussing its use.
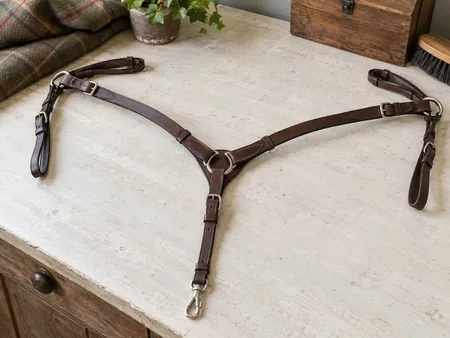
A breastplate is intended to help limit backward saddle movement, but the saddle still needs its own fitting assessment.
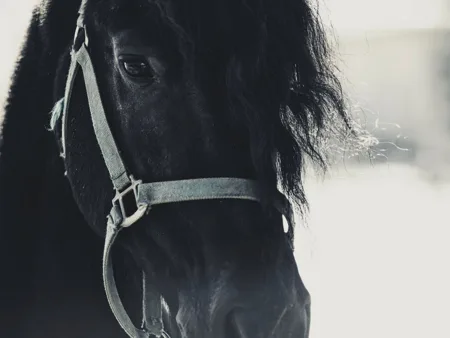
These items can share familiar straps and buckles while serving different handling purposes.
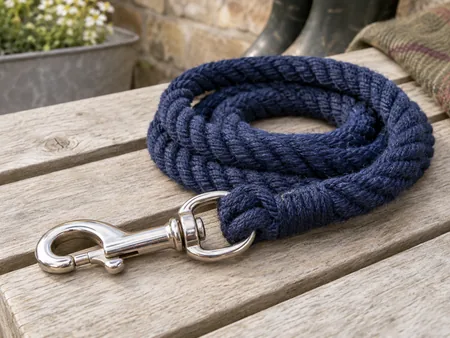
The clip, rope body and finished end all deserve attention when choosing a rope for ordinary yard handling.
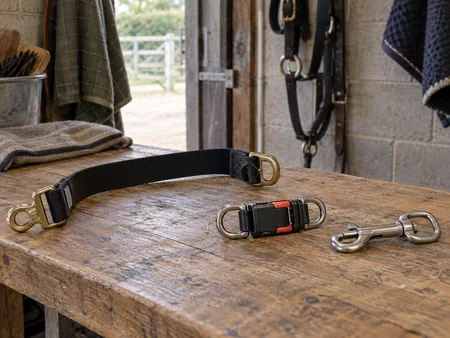
A safe tying arrangement depends on the place, the equipment and a procedure someone has taught you.
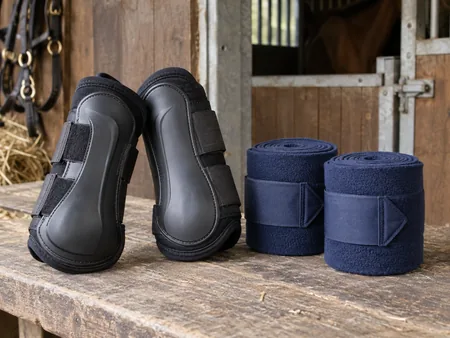
Coverage, application and maintenance differ, so first decide what protection is actually needed.
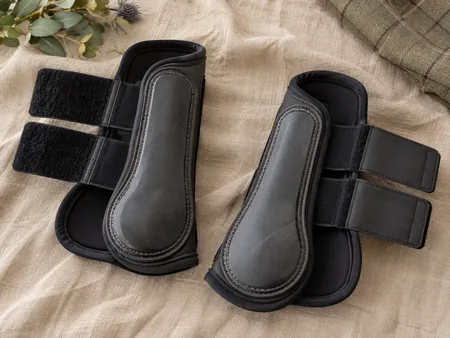
The reinforced inner area is the clue to their intended use, but it still needs to sit in the correct place.
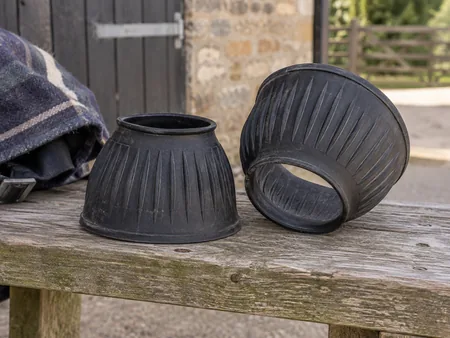
Bell-shaped boots cover a different area from brushing boots, so do not confuse the two jobs.
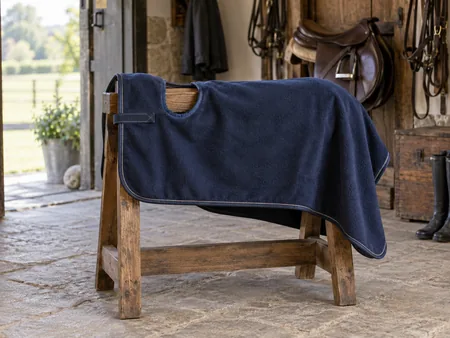
An exercise sheet has to work with a moving horse, the saddle and the rider's leg.

Ear shape, seams and the space beneath the bridle matter more than matching the saddle pad.
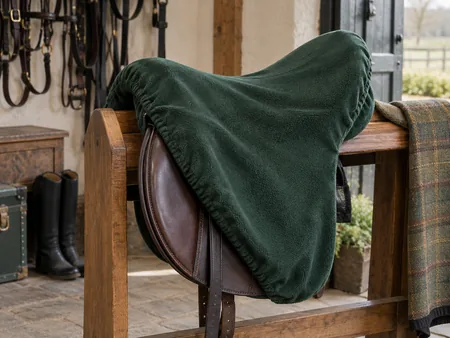
A cover keeps surface dirt away, provided the saddle is ready to be covered in the first place.
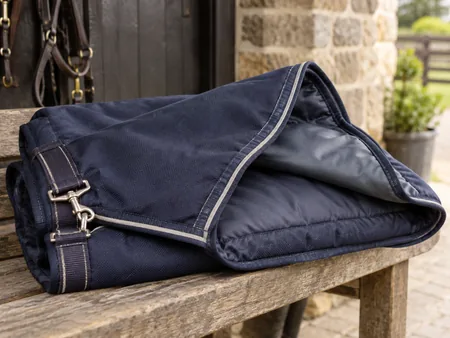
Outer fabric, filling and lining describe different jobs, so read each part of a rug specification separately.
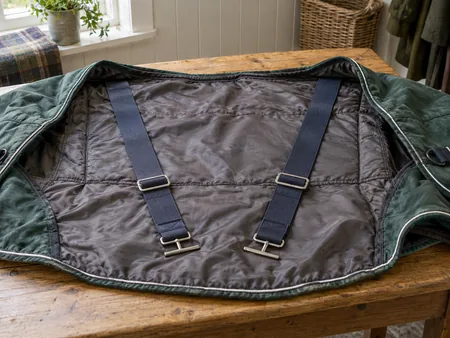
The straps beneath a rug can reveal problems with adjustment, hardware and the way the rug is sitting.

A little preparation gives the fitter a clearer picture of your horse, your riding and the equipment you actually use.
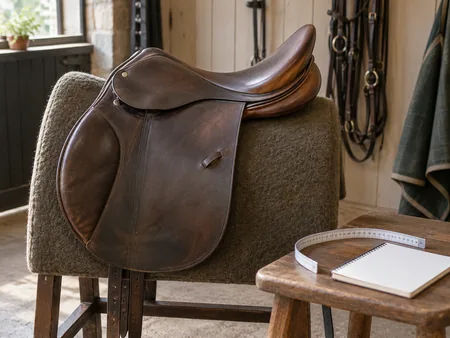
An unchanged saddle can sit differently when the horse beneath it changes shape, fitness or workload.
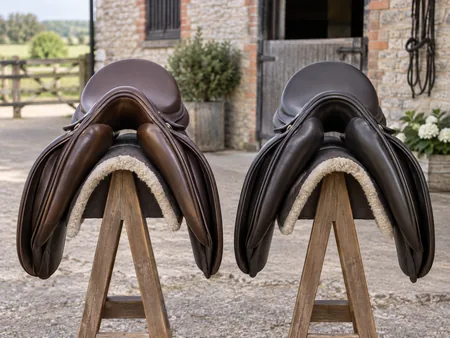
Medium and wide are useful labels within a range, but they do not make two different saddles equivalent.
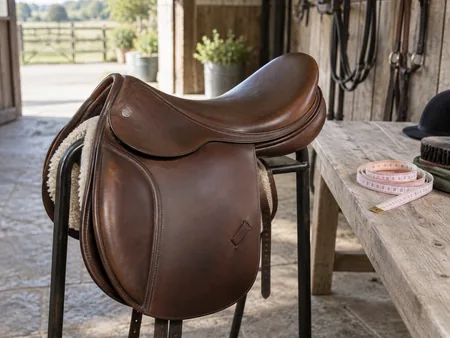
The number stamped on a saddle does not describe all the space and support available to the rider.
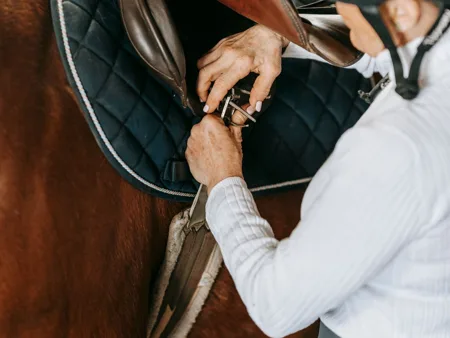
Measure according to the girth maker, then assess where the buckles and shaped sections sit in the complete setup.
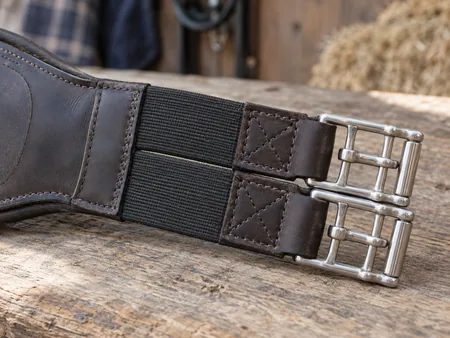
Elastic changes how a girth behaves, so compare the complete design rather than choosing by softness alone.
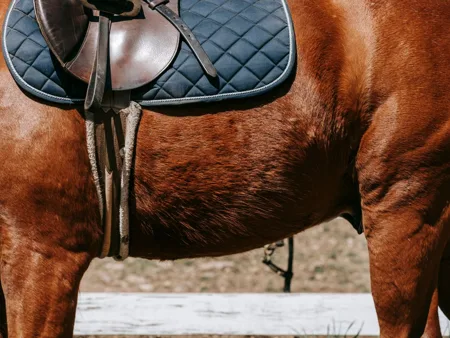
A pad needs enough room around the saddle without folds, seams or bindings ending beneath pressure-bearing areas.
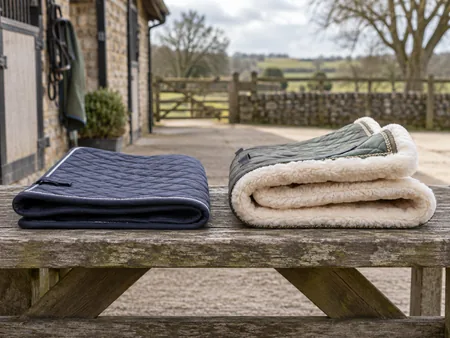
Extra cushioning takes up space beneath the saddle; it should be part of the fitting decision, not an improvised repair.
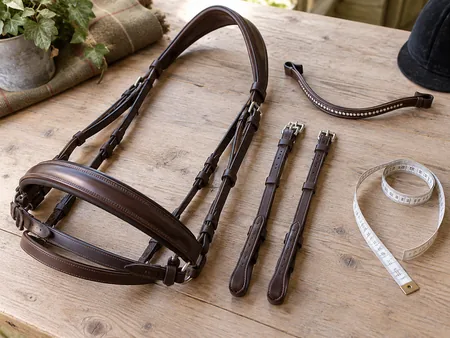
Useful measurements describe individual pieces and adjustment ranges, rather than relying on one overall bridle size.
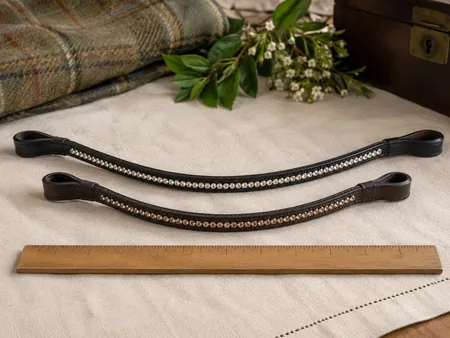
Length, curve and loop size all affect how a browband works with the headpiece and the horse's ears.
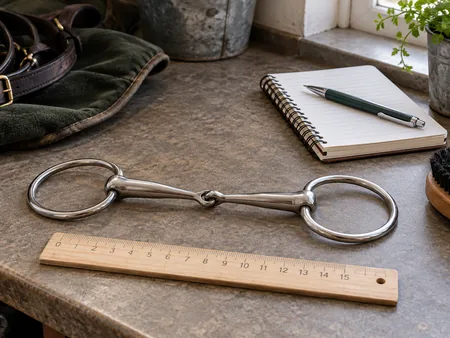
Width is only one question: mouthpiece shape, thickness and cheek design also need individual assessment.
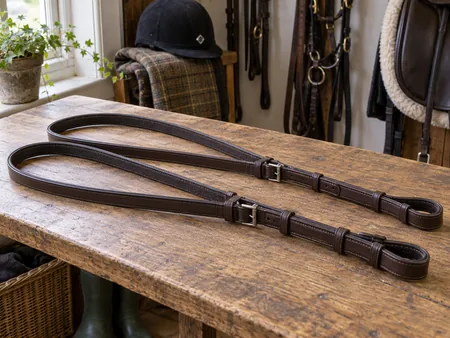
Compare the maker's measurement with the length you use in the saddle, including the spare rein and the connection at the bit.
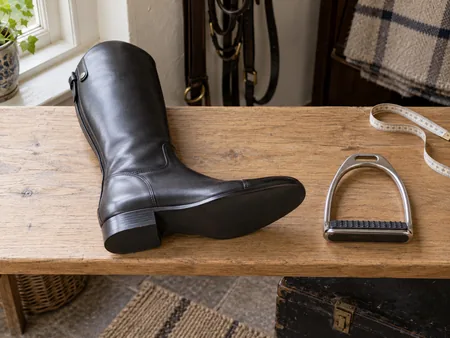
Take the actual riding boots to the fitting discussion; a familiar stirrup size may behave differently with another sole.
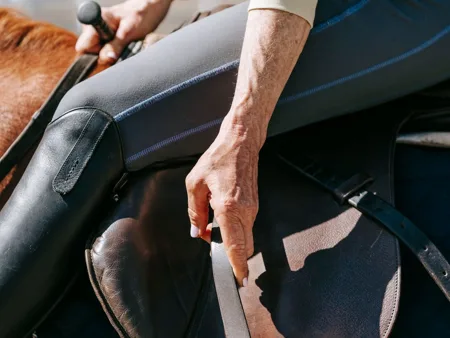
Choose a length that leaves useful adjustment, then check buckle position and compatibility with the saddle and irons.
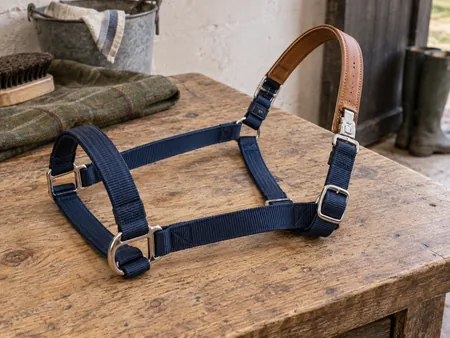
Find out how the release feature is intended to work, which replacement parts it needs and what limitations the maker gives.
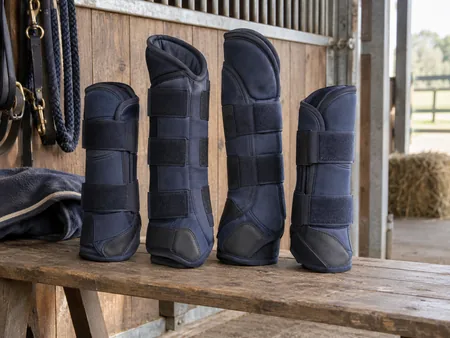
Travel protection needs to fit the horse and be familiar before loading day, with fastenings you can use correctly.
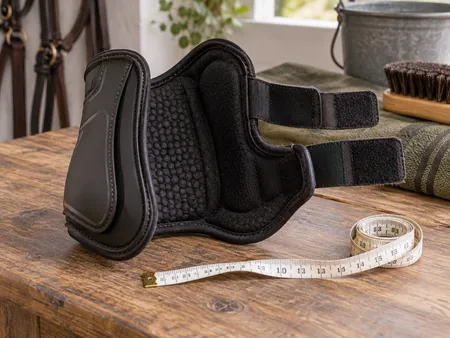
A horse's height is only a rough starting point; use the measurements and fitting instructions for the exact protective boot.
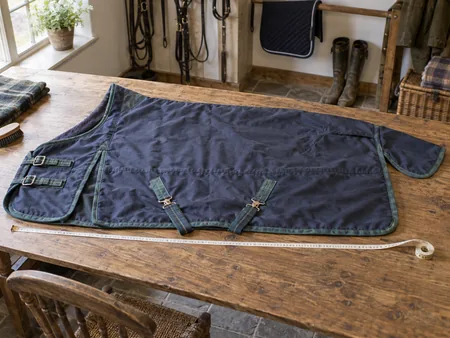
Follow the chosen manufacturer's diagram rather than transferring a familiar number between different measuring systems.
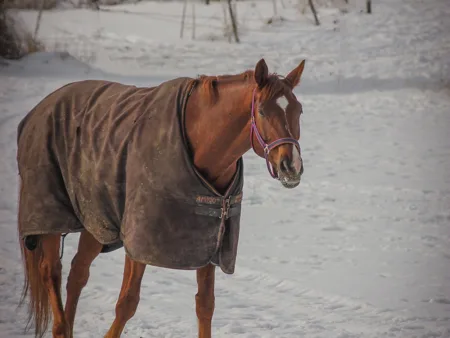
Fill weight is a product detail, not a universal instruction to rug every horse the same way at a given temperature.

A neck cover affects fit, fastening and the way the whole rug moves, as well as the amount of coverage.
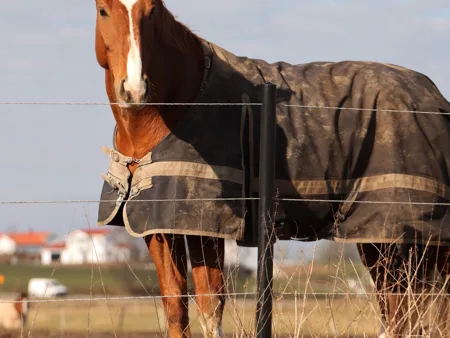
The place a rug will be used matters as much as its size and insulation; read the intended use before choosing.
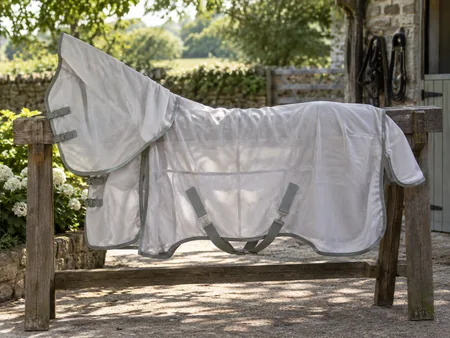
Look at the cut, coverage and fastening system as closely as the mesh, and plan how the horse will be checked underneath.
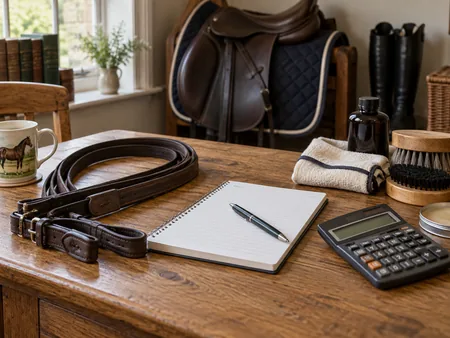
Build the budget around fit, sound equipment and the cost of keeping it usable before adding matching extras.
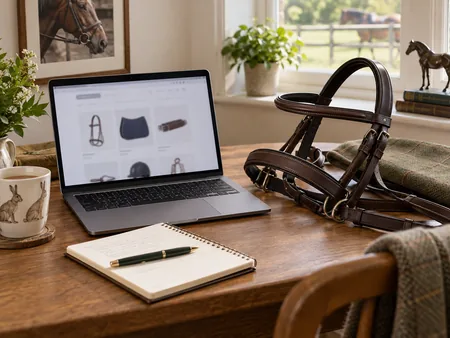
Ask questions that resolve the exact gaps in a listing: specification, condition, included parts and the practical buying arrangement.
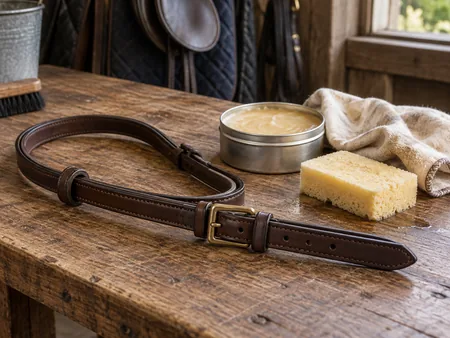
A small cleaning kit and a repeatable order make regular tack care easier to fit around a ride.
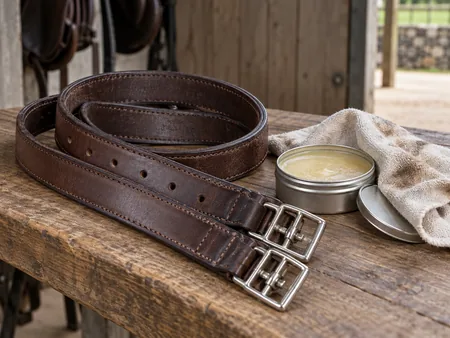
Conditioner should suit the particular leather and its maker's instructions; it is not a way to hide wear.
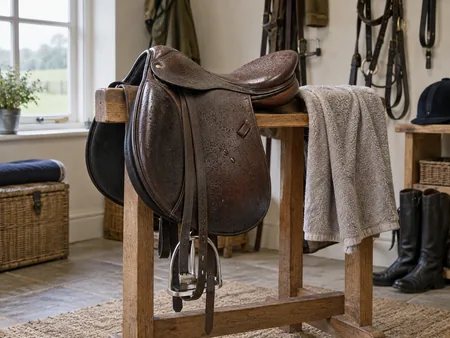
A saddle that comes back wet needs space, support and time before it is put away.
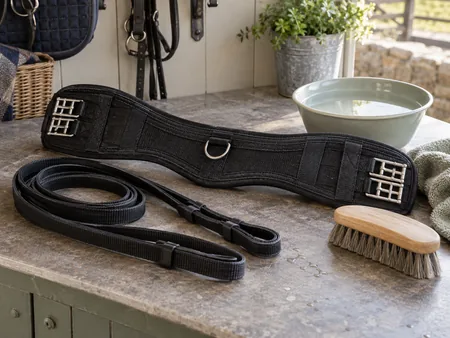
Synthetic tack can contain several materials, so check each section before choosing a cleaning product.
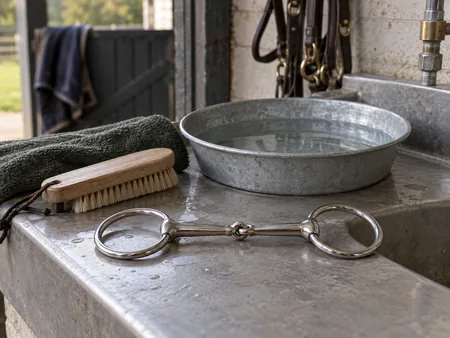
Cleaning a bit gives you a clear view of the mouthpiece, joints and rings before it is used again.
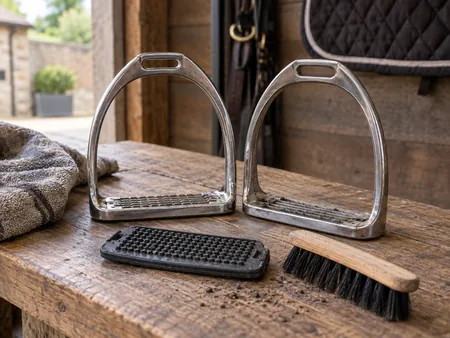
Mud around a tread can hide wear and moving parts. Clean according to the particular stirrup's instructions.
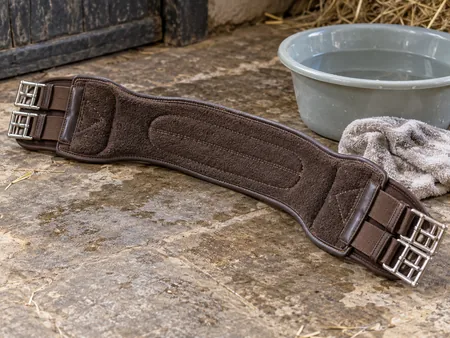
The surface against the horse deserves as much attention as the buckles that are easy to see.
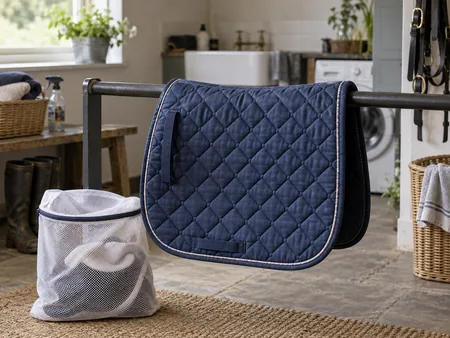
Hair removal and a little space in the drum make a better start than a hotter wash.
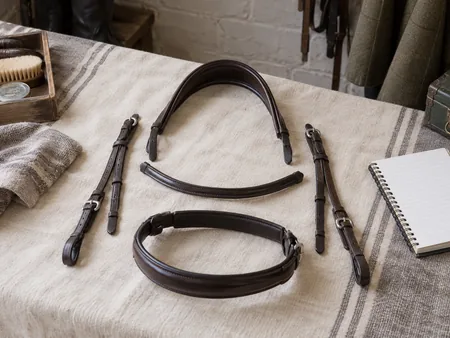
A few clear records can prevent a cleaning session from ending with a puzzle of similar straps.
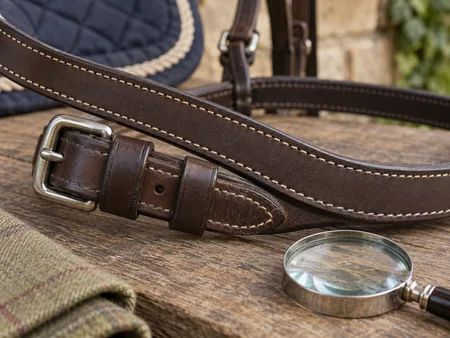
Clean tack and good light make loose threads easier to notice, but appearance alone cannot certify strength.
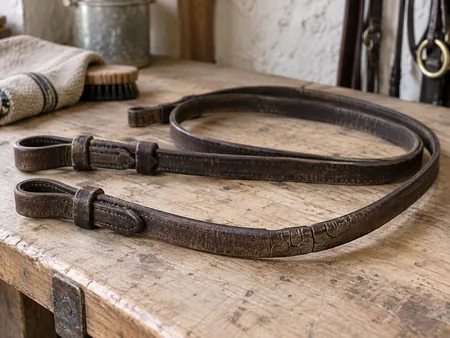
Distinguish a cosmetic concern from a question about strength before reaching for conditioner.
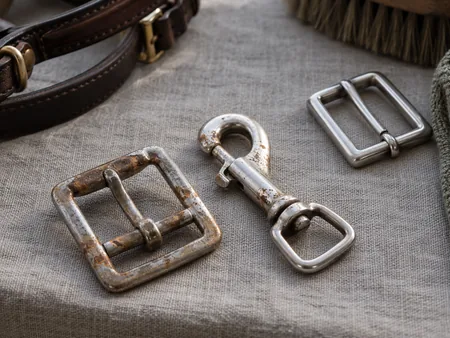
Cleaning can reveal corrosion; it should not conceal damage beneath a brighter finish.
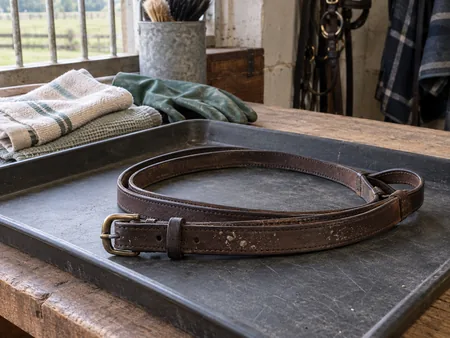
Separate affected equipment, seek material-specific cleaning advice and address the damp storage that allowed it to develop.
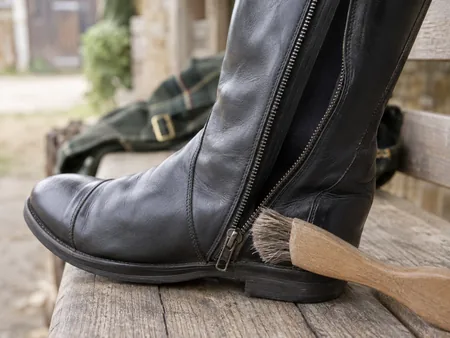
A reluctant zip is easier to investigate before it is forced shut around a boot or an overfilled bag.
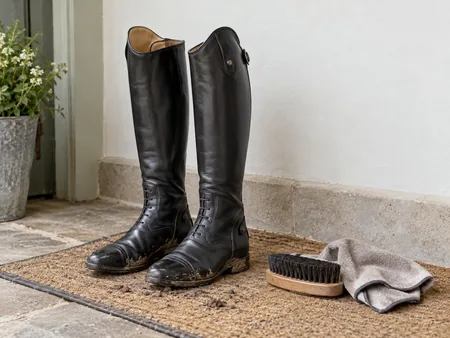
Give the sole, seams and closures their own attention before polishing the leather you can see.
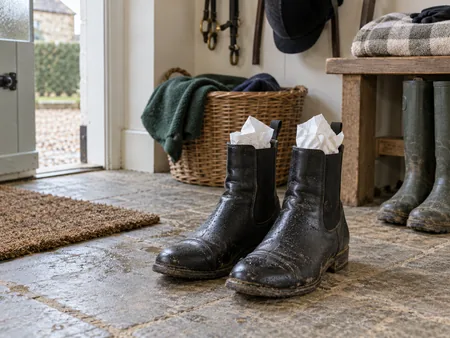
Wet boots need time, airflow and care appropriate to their materials, not a quick blast of heat.
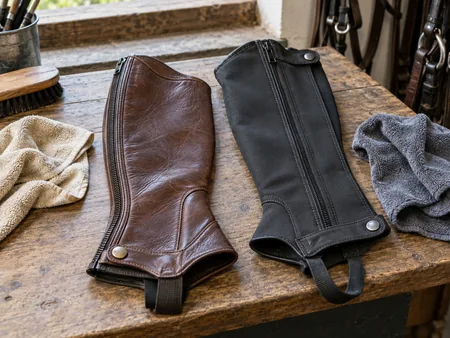
Read the material label before treating half chaps as either leatherwork or washable clothing.
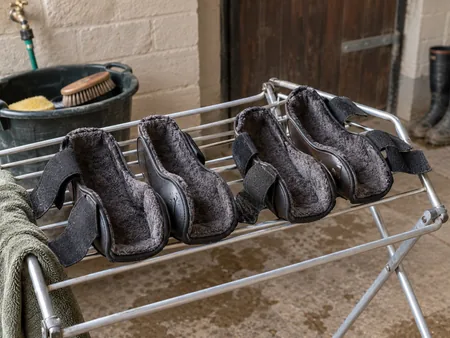
Clean the inside as carefully as the outside, then keep the pair together while it dries.
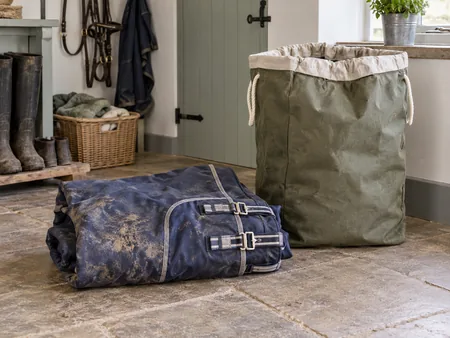
Read the label, remove loose debris and decide whether the rug belongs in your machine or with a specialist laundry.
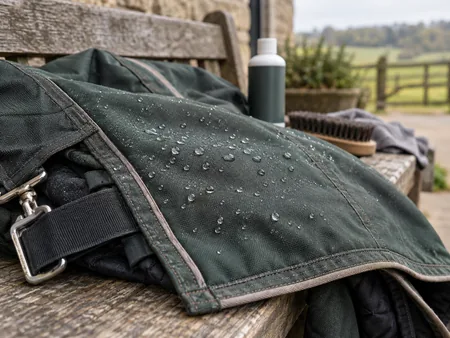
Identify the source of dampness and follow the rug maker's advice before adding a waterproofing treatment.
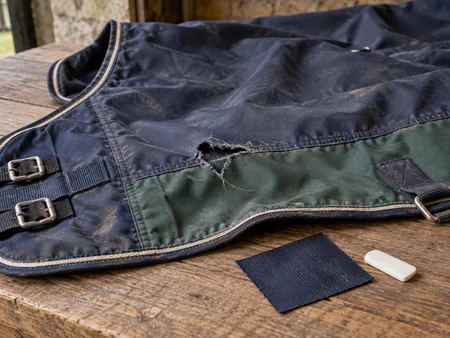
A clear description of the damage helps a repair service decide what can be done and what the rug is worth keeping for.
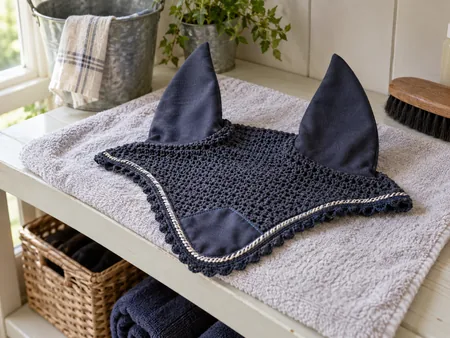
Soft ears, crochet and decorative trim may need different care, even on one small item.
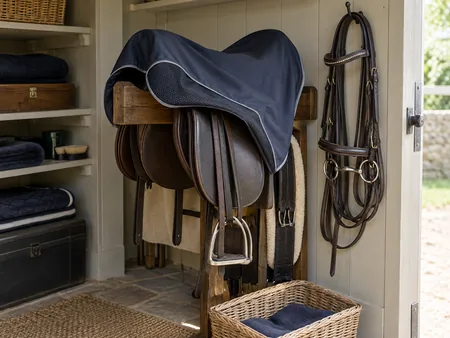
Clean, inspect and label equipment before a break, then check it again before bringing it back into use.

A quick conversation with the riding school can prevent unnecessary purchases and unsuitable footwear.
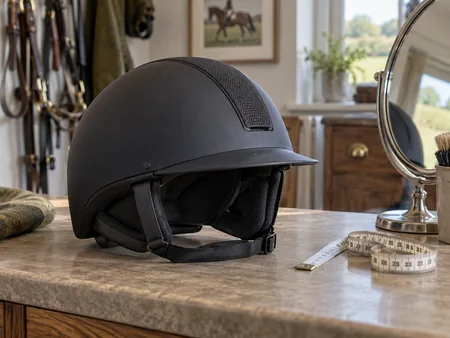
Expect a fitting to consider head shape, fastening and stability, not only the number on a tape measure.
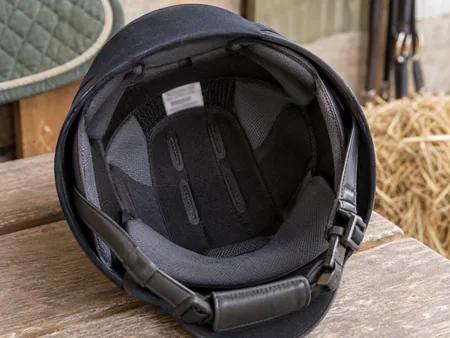
Read the standard, its date and any required certification mark as a complete combination.
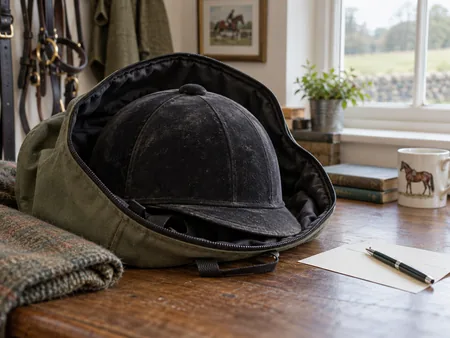
Impact history and changes in fit matter even when the outside shell still looks tidy.
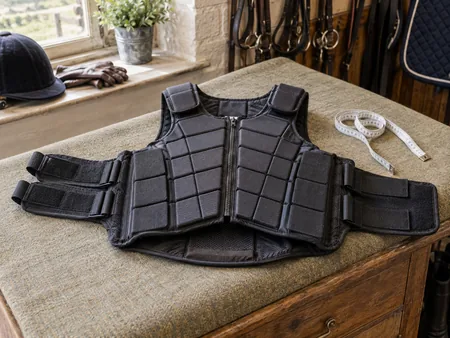
A protector must cover the intended areas while allowing the rider to sit and move normally.
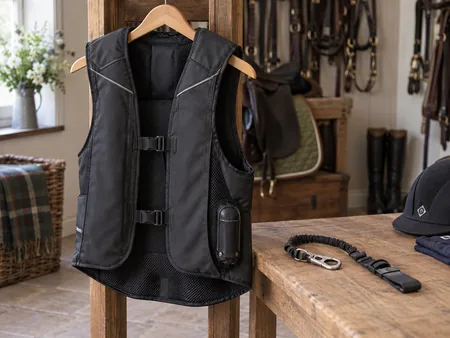
Understand the activation system, compatible clothing and maintenance before adding an inflatable garment to your kit.
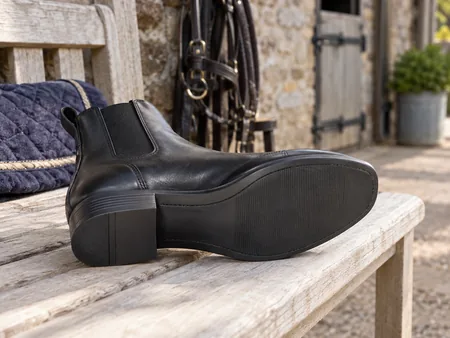
A boot can look suitably tough for a yard yet be unsuitable inside a stirrup.
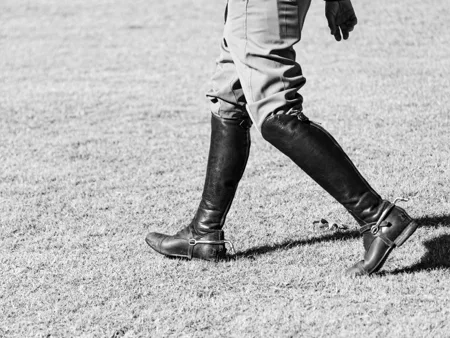
Compare the complete arrangement around your lower leg, including any half chaps worn with short boots.
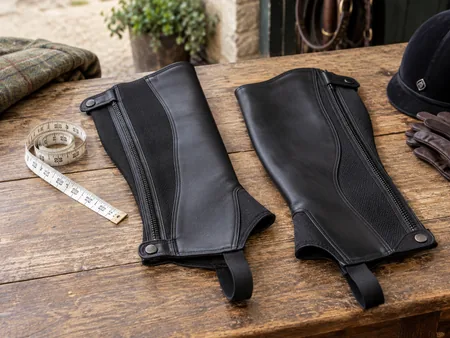
Calf size is only one part of the fit; height and the overlap with the boot deserve equal attention.
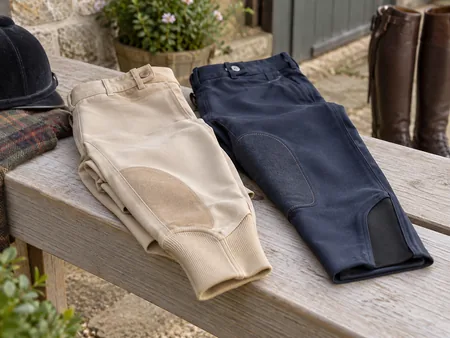
The lower-leg cut is a useful starting point, but product names overlap between brands.
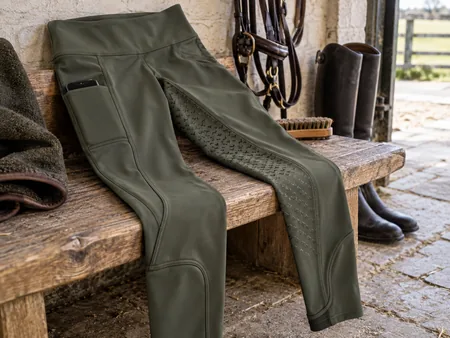
Stretch is useful only when the waistband, seams and fabric remain comfortable in the riding position.
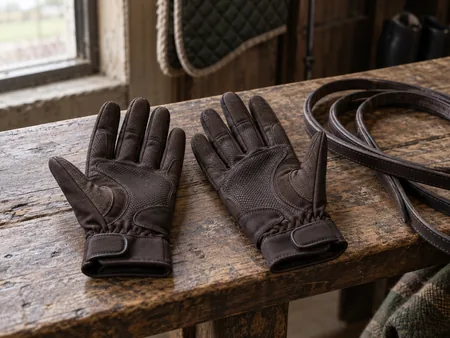
A glove can feel comfortable with an open hand yet bunch up as soon as you close your fingers. Try it in the position you will actually use.
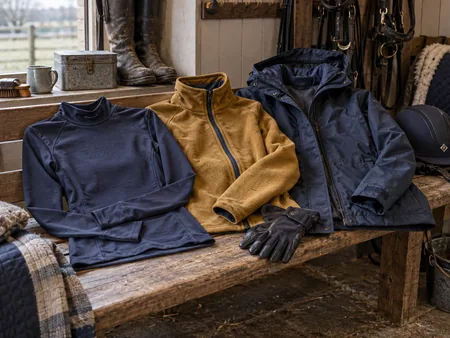
Build warmth around the movements and protective equipment you need, then leave room to adjust before mounting.
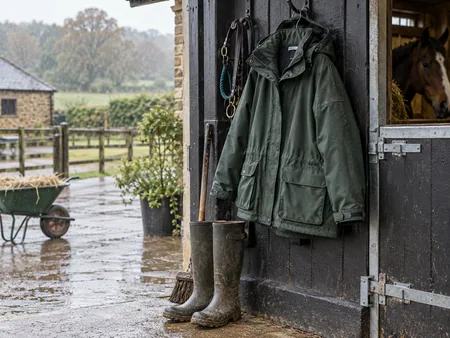
Walking through mud, carrying equipment and riding each ask different things of a waterproof layer.
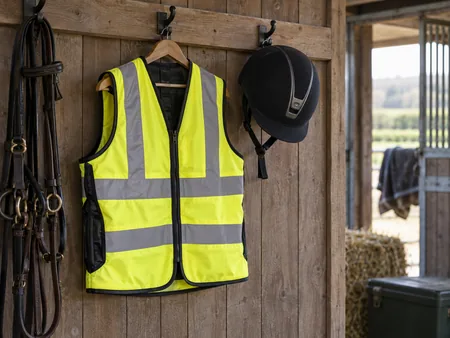
Visibility equipment needs to be seen from useful directions and remain visible when the rest of the outfit is added.
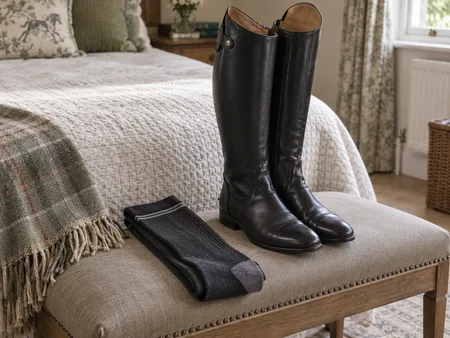
A different sock can change pressure at the toes, ankle and calf even when the boot size stays the same.
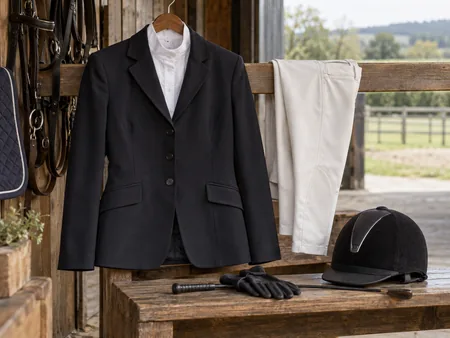
Find the rules for the actual event before spending money on clothing or equipment described as competition-ready.
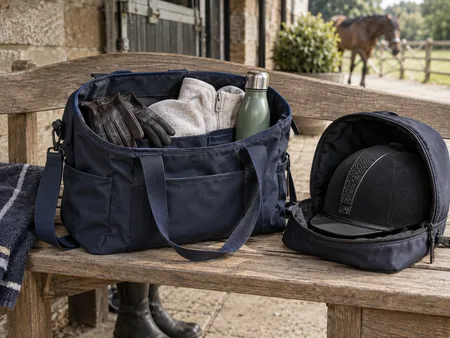
Pack around the lesson and the journey, with clean safety equipment separated from wet yard items.

Choose lighter clothing without losing the fit, coverage and equipment compatibility needed for riding.
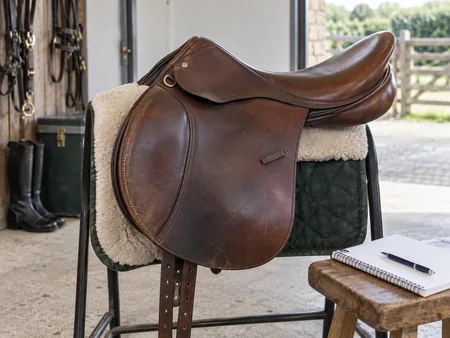
A used saddle needs both a condition assessment and a fitting assessment; neither is settled by an attractive listing.
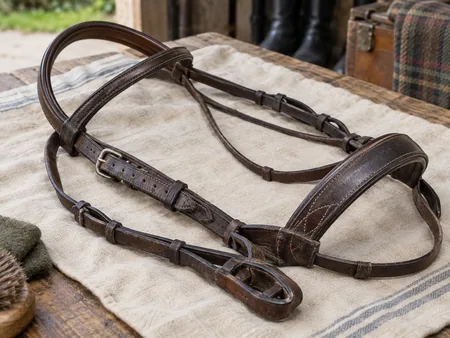
Inspect the separate components and their connections; a polished bridle can still have worn holes or mismatched pieces.
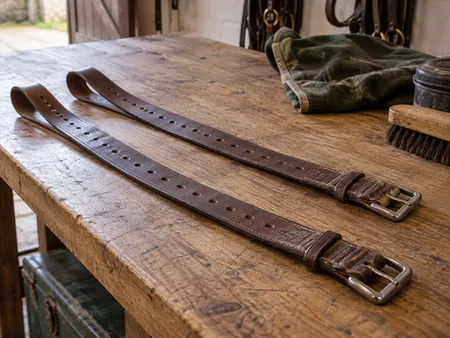
Look at both straps together, particularly the buckle attachments and adjustment holes, and treat uncertain strength as a reason to seek advice.
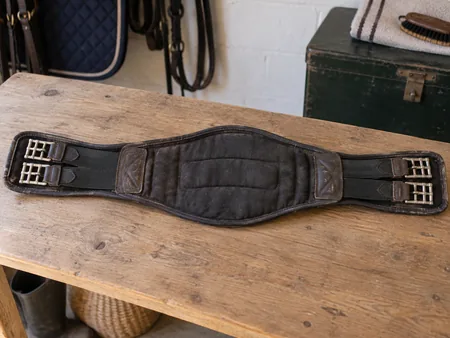
Turn the girth over and open the buckles: the horse-facing surface and attachment points deserve as much attention as the outside.
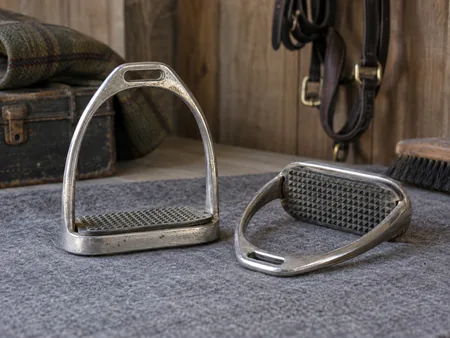
An identifiable model, complete parts and a known condition matter more than a freshly polished pair of irons.
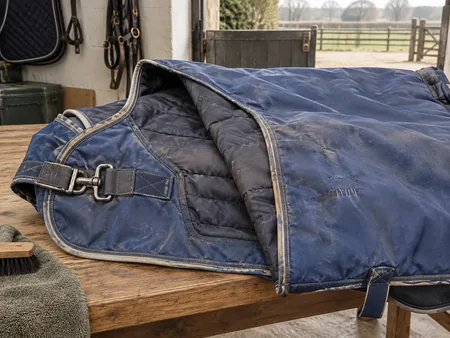
Look at the lining, straps and repair history as well as the outer shell, then budget for cleaning and any confirmed work.
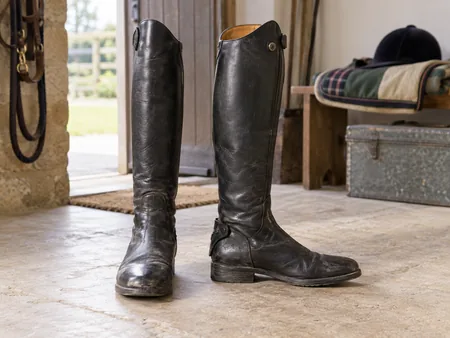
The printed shoe size is only part of the purchase; wear, calf dimensions and the way the boot has settled all affect the result.
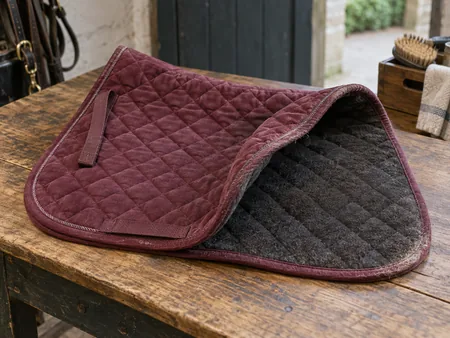
A clean top surface is not enough; inspect the underside, binding and shape before deciding a used pad is worth buying.
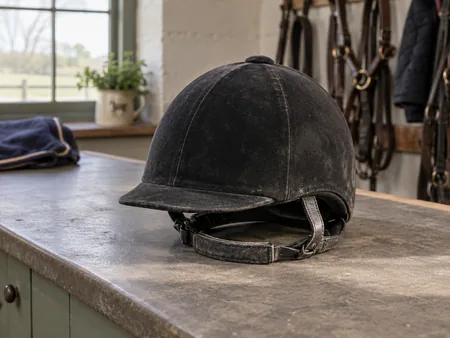
A riding hat can hide impact damage, and an unknown history cannot be settled by photographs or a reassuring seller description.
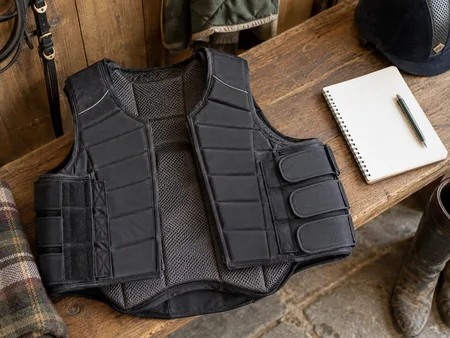
Age, fit and unknown damage complicate a second-hand body protector purchase even when the cover looks tidy.
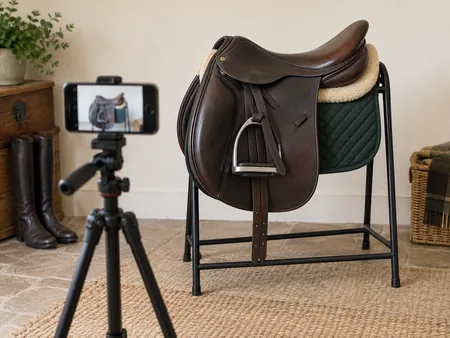
A useful set of pictures answers questions about identity, shape and condition without hiding the less attractive parts.
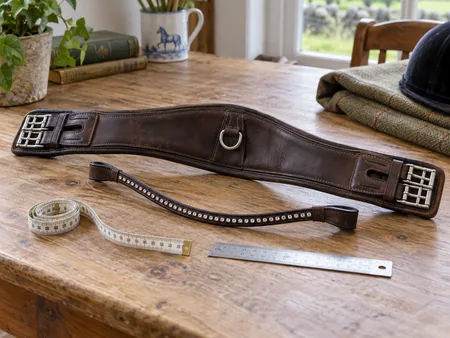
A number is useful only when both people know the units and exactly where the tape begins and ends.
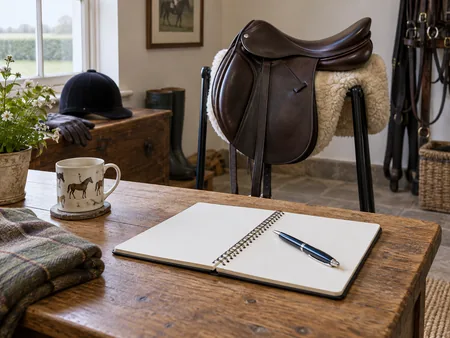
Agree the dates, permitted use and return practicalities before a saddle leaves the seller, and allow time for a fitter's appointment.
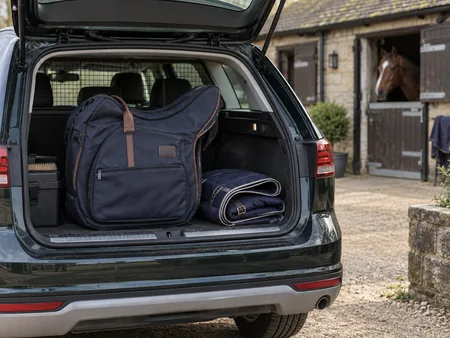
Confirm the item and the meeting details before travelling, then leave enough time to inspect what you are collecting.
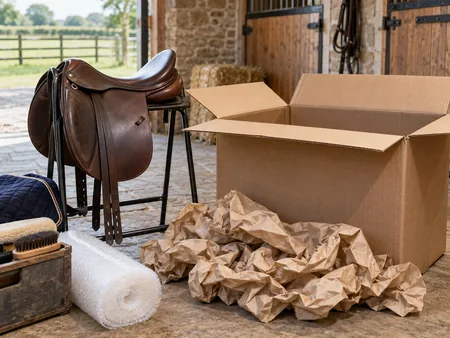
Packing, courier limits and the cost of a return should be discussed before a saddle is booked for delivery.
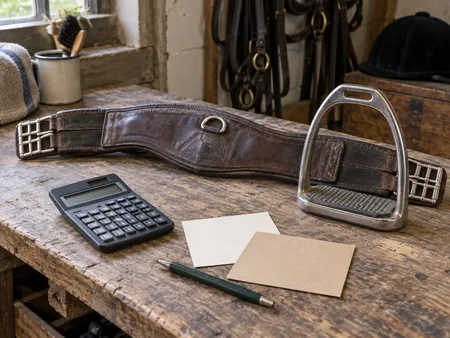
Compare the amount required to put an item into suitable use, not just the asking price or the claimed saving against new.
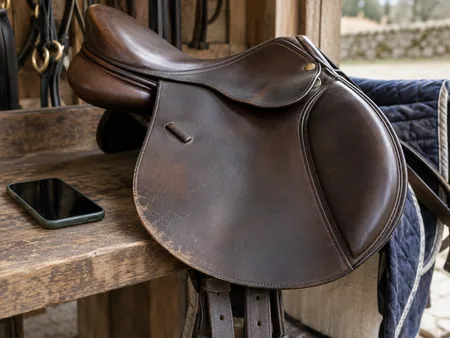
Describe what you can observe and what you know about the item's history, with clear photographs of wear and repairs.
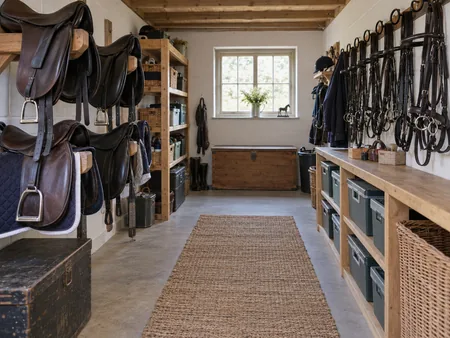
Arrange the room around the equipment you take out, clean and put away each day, with a clear route through it.
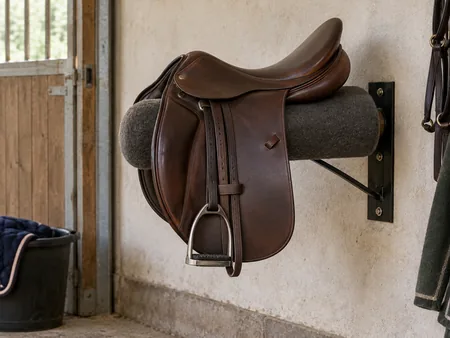
A rack should support the saddle appropriately and leave room to lift it without scraping nearby fittings or equipment.
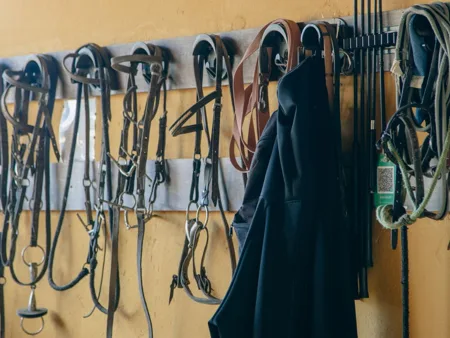
Choose support and spacing that let bridles hang without tangled reins, crowded headpieces or loose ends on the floor.
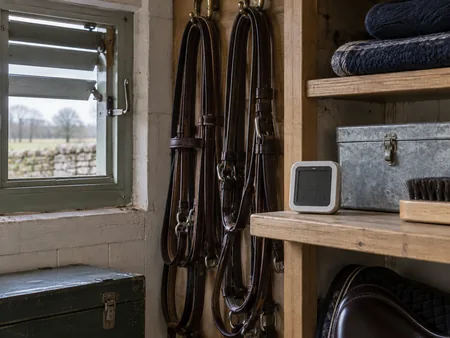
Find where moisture is entering or accumulating before relying on extra covers, fragrances or a new storage box.
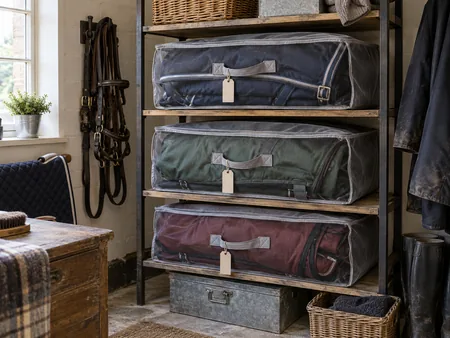
Store rugs only when they are ready to use again, and make the label useful enough that the bag need not be opened to identify them.
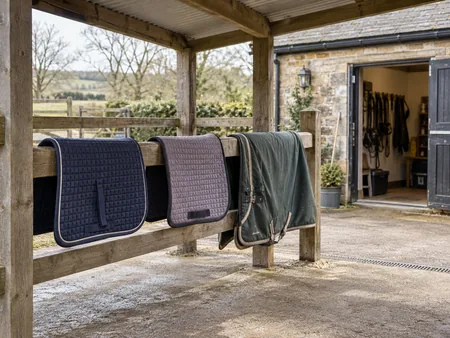
Plan where wet equipment can hang with room around it, without dripping onto clean tack or blocking the way through the yard.
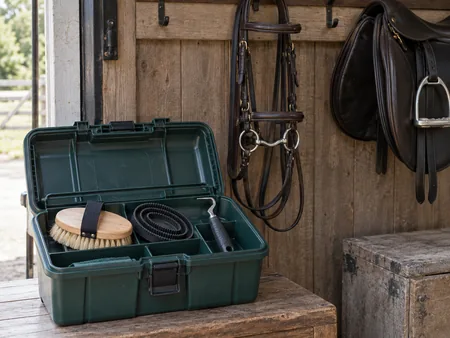
Give dusty brushes and dirty tools their own place so they do not undo the work of cleaning tack and clothing.
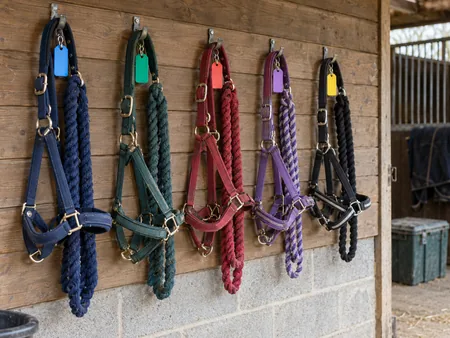
Clear storage labels and a simple record of changes help people select the correct equipment without relying on memory.
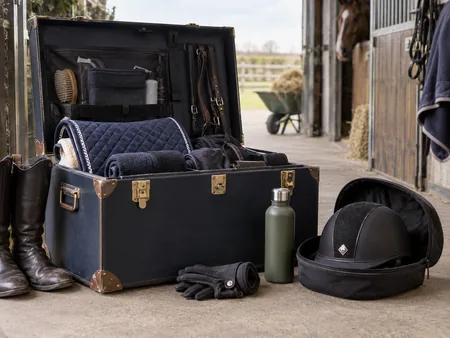
Pack for the horse, rider and timetable you actually have, keeping essential equipment separate from optional extras.
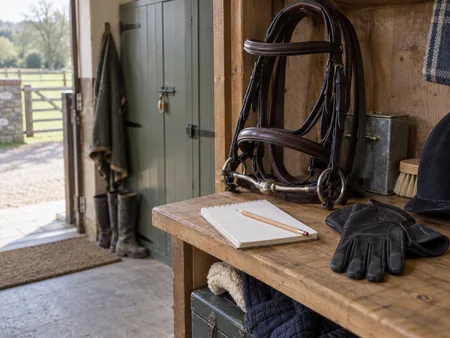
A brief departure check works best when it follows the room and the yard's agreed routine, with unresolved faults clearly handed over.
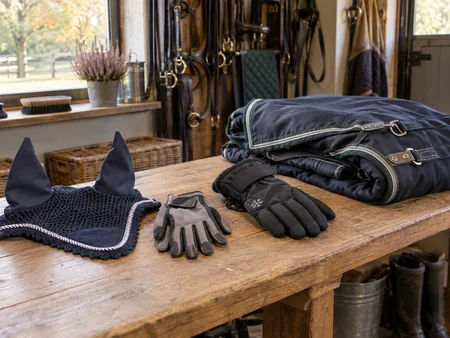
Sort by the next period of use, checking condition and compatibility before moving equipment into or out of storage.
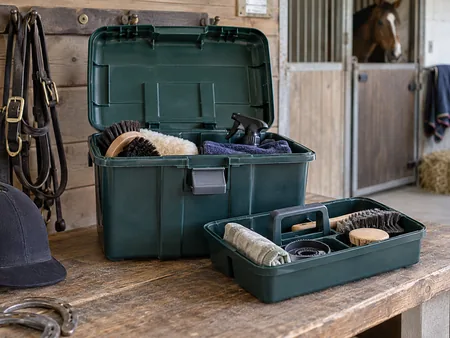
Judge a box when it is filled, carried and opened in the space where you will use it, not only by its advertised capacity.
No articles match those words. Try a shorter search or another subject.