Keep track of a bridle during cleaning
A few clear records can prevent a cleaning session from ending with a puzzle of similar straps.
Record what is already there
Choose a clean table with enough space for the entire bridle. Before undoing anything, photograph both sides and the points where straps pass through keepers or attach to the bit. Record which holes are currently used without treating those settings as proof of correct fit. If the bridle already seems wrong, arrange a fitting check rather than carefully preserving a questionable arrangement.
Identify the maker and model where possible. Some designs have an unfamiliar route through the headpiece, removable padding or separate instructions for individual components. Find those instructions before taking the assembly apart. The fact that two straps can physically be buckled together does not establish that they belong together, particularly when several bridles are being cleaned in the same room.
Work on one bridle at a time
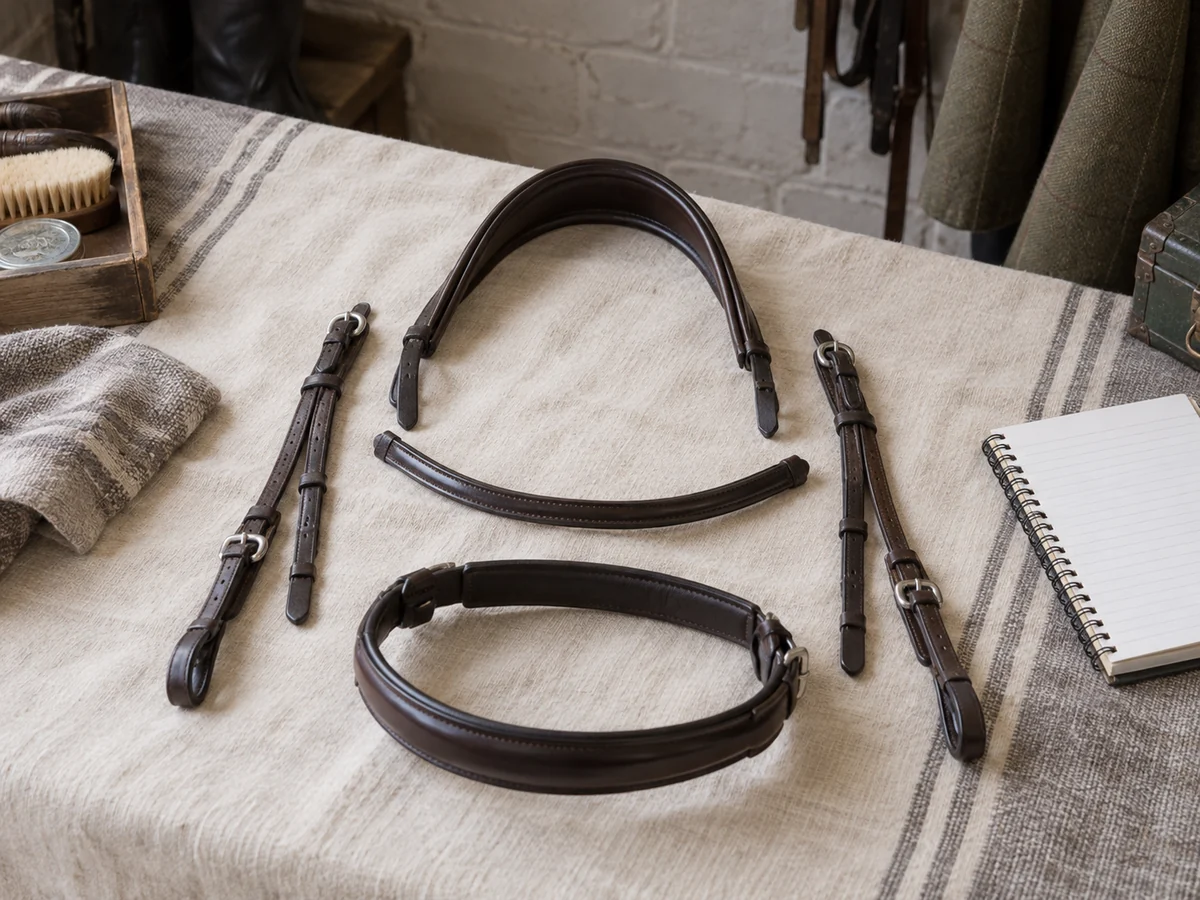
Lay out the parts in a recognisable order, keeping left and right pieces separate if their settings differ. A shallow tray is useful for small detachable fittings that would otherwise disappear beneath a cloth. Avoid mixing the components with another horse's equipment, even when the leather is the same colour. Similar-looking cheekpieces can differ enough in length to cause confusion later.
Clean each material by its approved method and use the opportunity to see areas usually hidden by buckles. Look for damaged stitching, worn holes and rough fittings. Put suspect parts aside for assessment; reassembling them merely to complete the job makes them easy to overlook. Let cleaned components dry as directed before closing layers of leather around one another.
Check the assembled result
Rebuild the bridle using the maker's arrangement and your records. Check that straps lie as intended, fittings are correctly engaged and no section has become twisted. Count the loose parts left on the table rather than assuming an extra keeper is unimportant. A part you cannot place confidently is a reason to stop and get help from someone familiar with the design.
Before the bridle is next used, have any uncertainty resolved and check its fit on the horse with appropriate help.
A photograph taken before cleaning cannot show every detail, and the horse's needs may have changed since the original adjustment. Store the finished bridle in its labelled place. Keeping a simple model note beside the cleaning kit can make the next session much easier without relying on memory.
Reading & references