Give bridles enough space on their hooks
Choose support and spacing that let bridles hang without tangled reins, crowded headpieces or loose ends on the floor.
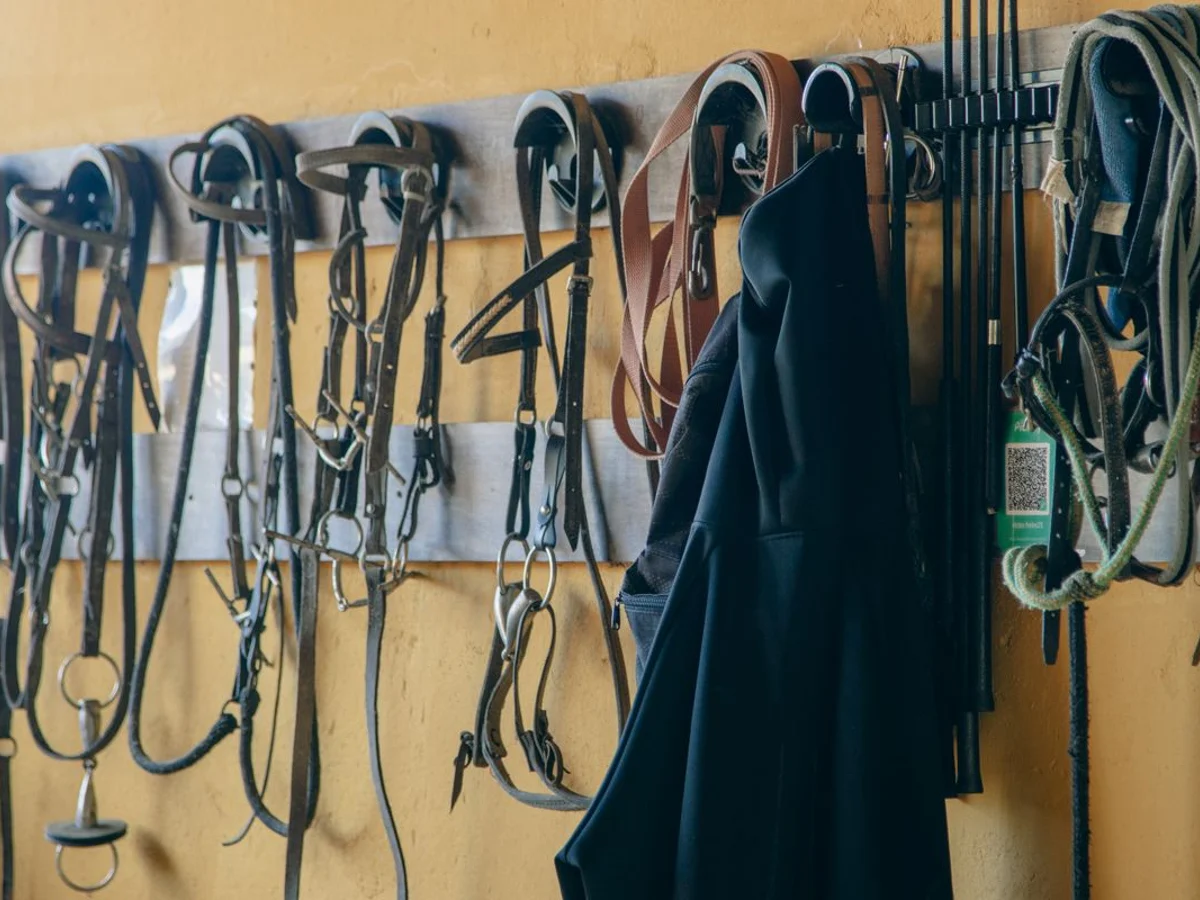
Give each bridle its own space
Several bridles on one small hook are difficult to separate without dragging one through another. Start by assigning a clear position to each regularly used bridle. Leave enough room for the headpiece and attached parts to hang without being compressed against neighbouring equipment. The useful measure is how easily one item can be removed, not how many can be squeezed onto the wall.
Use a support intended for the equipment and ask the maker if its shape is uncertain. A narrow nail or rough screw is a poor substitute for a suitable bracket. Check the surface for sharp edges, exposed fixings or damaged coatings. A cover may protect against dust, but it should not hide a support that is rubbing or distorting the bridle beneath it.
Arrange reins and straps according to the bridle's storage guidance so they remain off the floor and do not catch passing people. Avoid tight knots introduced solely to shorten a dangling length. Leave the arrangement simple enough to reproduce after cleaning, particularly where several people use the same room. A photograph beside the assigned place can help explain an unfamiliar storage method.
Keep bridles awaiting repair or assessment away from the ready-to-use positions. A small note is easy to miss when someone is in a hurry, so use a clearly separate location and tell the relevant people. Do not return an item to its normal hook merely because it has been cleaned; the unresolved fault remains even if the leather looks tidy.
Label the place clearly
Put a readable label beside the bracket with the horse or equipment identity used by the yard. Colour can help, but text prevents confusion when two similar shades are used or someone is unfamiliar with the system. Avoid attaching improvised tags where they could interfere with the bridle in use. The storage label belongs where it helps selection without creating another fitting problem.
Allow cleaned leather to dry as directed before closing it into a cover or crowded cupboard. Keep the area free of drips from wet rugs and dusty grooming equipment. Every so often, lift the bridles and wipe the brackets so accumulated dirt is not transferred back to clean tack. A simple, spacious arrangement is easier to maintain than a decorative wall that requires everything to be threaded into a precise order after every ride.